Showing posts with label Gardening. Show all posts

Thursday, August 24, 2017

Smallholding plans

As a smallholder, you are presented with a wide variety of animals and breeds which you could keep with a view to using them for food; cattle, sheep, ducks, bees, geese, chickens, pigs, goats, other foul, the list goes on. You also need to consider the cost vs. payback; the total value of looking after the animal, not just in terms of food, but in terms of the experience of looking after them. You also want to work out what you want to use them for. Do you want chickens for eggs or meat, as this will dictate to some degree which breeds to buy. Cattle/goats/sheep for meat or milk, or both? 

Then you will have a better idea of the infrastructure you will need to get in place; what housing is appropriate, what food they should be provided with, how much room they will need, what type of fencing and protection you must provide, how much of your time will be required and what the cost will be for all this. You will also need to consider the cost of the equipment for any of the specialist plans you have; milking kit, cheese-making kit, honey extraction, maybe a smoker and curing kit for meat, equipment for making mead - the options are endless and the list (and cost) grow fast. 

Even  a simple plot with fruit and vegetables, you can find your plans to make lots of jams and preserves will require the right equipment, especially if you plan to make enough to sell them in any volume. It takes planning and preparation so that when the produce is ready, you are too. Fruit will not stay perfectly ripe for long whilst you run around trying to buy sugar and vinegars and preserving pans, muslin and jars and labels and whatever else you need.

It is really easy to get carried away and spend too much money too quickly on plans you cannot possibly execute with the time you have. Don't have your enthusiasm dampened, but do consider how much time a lot of these things take, their cost over time too, and how you probably will need to spend some time at work and with your family too! Take small steps and try to master one thing at a time, otherwise it may be that you find you take on too much - being a smallholder is supposed to release stress, not create more!

Record keeping is essential too... write down your recipes, journal your experiences with your plot, and record the health and growth of your animals. Not only will this give you something to refer back to, but it will be useful in many areas where the authorities expect you to keep records of your activities so that the spread of disease in your area is reduced.

As with most new ventures, get some advice. Try to find a mentor or a neighbour who will help with any 'stupid' questions (there are no stupid questions, only stupid people too proud to ask them). Getting involved with a local association is also a good idea - and you will find there are lots to choose from. You will certainly have a local beekeeping association, a horticultural society, a club for foul fanciers and many more. Go along to meet them, listen to the talks they will invariably provide and chat to the other members who will love to share with you their successes and failures. Everything is much harder (and expensive) if you insist on learning all the lessons yourself.

Wednesday, June 14, 2017

Wild flower collection

Watching BBC SpringWatch, I heard Chris Packam talk about the PlantLife wild flower hunt. This made me wonder what wild flowers we have in our paddocks, and also wild grasses too. So I started photographing and identifying the wild flowers and grasses we have.

 Bird's Foot Trefoil

 Red and White Clover

 Oxeye (or Moon or Dog) Daisy

 Foxglove

 Common Spotted Orchid

Red Campion

 Yarrow

 ????

Ragwort
Creeping Buttercup
Dandelion
Deadnettle
Comfrey
 more to follow...

Tuesday, June 13, 2017

Building the fruit cage

Much like the chicken house, I have had practise building a couple in the past and learned some lessons. The first attempt was poor, to be honest, based on the belief that plastic netting would last a fair amount fo time. It doesn't and it catches leaves and birds in it's flimsy net.
Plastic netting ok for short term but mostly a waste of money

So I ripped all that out and put up stronger stakes, with chicken wire (2.5cm hexagonal) all around the sides and over the roof too. With a better door, also wired, the structure (below) was much better, didn't trap anything it should not, could even take a heavy snow fall. The one mistake I definitely made was to make the ceiling too low and not well enough supported. I was sure not to make that mistake again.
Better with chicken wire and a proper door

So when I moved and came to build my new fruit cage, I had a number of aims. A higher ceiling was the first thing. I also wanted to make sure it was bigger than the old one, so the plants have more room to grow (some of them kinda outgrew the old area after about 5 years). And I wanted a better door, which I would make myself.


First step - clear the turf

The first thing was to do was to clear the turf in the 4m by 8m area I planned to build the fruit cage. I used a turf cutter to do this and it was MUCH easier and faster than doing it by hand, which is what I did last time. Once the turf was gone I could start building the fruit cage, with a similar design to the chicken area, but without a solid roof. 
Similar structure to the chicken area

The same size chicken wire was used here all over, sides and roof. I use the spare wire provided with the chicken wire rolls to bind the chicken wire over the roof together. On the sides it is fixed with small fencing staples (yes, I hit my thumb many times and there was language). The key is, take your time, don't force yourself to do it when you are tired, otherwise you will screw it up and it will not be nice and tidy.
Fully wired, door on, paving slabs in

I used more gravel boards (the wide timber you can see on the sides) to build raised beds inside as well as using them to provide support for the wire over the roof; the roof this time is two metres high and it does not droop due to the lateral supports.
Support wiring and planting

Then, once the beds are in and the paths are down, I could put up some extra supports with tension wire (you can see in both the pictures above on the right hand side) to support the raspberry canes. I then dug out the central area and filled it with ericaceous compost so that I can plant blueberries (which hate lime soil) in there and they should do well. Everywhere else I dug in horse manure and planted all the fruit.


At the back there is a loganberry, then a green hinnonmaki gooseberry, 
a red one, another green one, then a tayberry.
One the left there are redcurrants, 
blackcurrants and more loganberries.
One the right there are raspberries; 
ten of each of Glen Clova (early), 
Malling Jewel (mid season) 
and Tulameen (end season).
Finally, down the middle there are four types of blueberry; 
Blue Gold, Spartan, Dixi and Gold Traube.

Saturday, July 02, 2016

Pumpkins

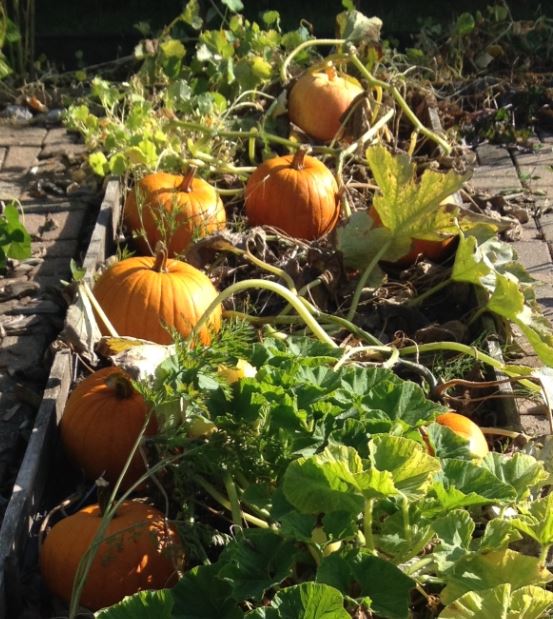
I grow pumpkins every year; they are easy to grow, fun to carve, flexible to cook and tasty to eat. They are one of those great vegetables that work well in sweet and savory dishes. In this post I wanted to share some of my regular pumpkin related recipes. But first...

Growing Pumpkins


Growing from seed is easy; you can use seeds you collected and dried from the previous year if you have them. Use good potting compost with a couple of seeds in each pot. Seed in a normal small pot so that the plant can develop to a fair size before going into the ground. Germinate in the greenhouse and even in the UK they will come through without any additional heating. Transplant to outside in their growing position when there are at least 5 adult leaves on the plant and the roots are pushing through the base of the pot. Dig a much bigger hole than the pot, fill with as much high nutrient compost as you can as these plants are REALLY greedy. I also add chicken manure as this is excellent for pumpkins. Water in generously and protect from any threat of frost. If you want massive pumpkins, only allow one fruit per plant; when you get a fruit in a convenient place on the plant, cut out all the others, put some straw beneath the fruit and keep an eye on the plant from that time on to make sure no other fruits are set. You can feed with tomato feed / seaweed extract, but I just give mine a top up of chicken manure on a regular basis; they love it.

Picking and Carving

Pick your pumpkin when the whole fruit is coloured fully and the plant starts to die and dry out. Cut the stalk cleanly at least 10cm/3in from the fruit if possible, and this helps to keep rot at bay. You can leave the pumpkin in this state, somewhere dry and airy, for months (I have cut pumpkins in October and kept them 6 months with no issues). You should check stored pumpkins weekly and remove any that show signs of rot otherwise it will spread to the others. 

Carving pumpkins is something I really enjoy doing. I like the macabre and this is a fun way to use a plant's outer shell before putting it on the compost. There are lots of good designs on the internet as well as tips on how to carve. My advice is to use very sharp knives and a base that will not let the pumpkins slide about; it is very easy to cut yourself handling a big and slippery fruit. Cut the top of the pumpkin head first, giving a nice side area at the top; don't cut too close to the stem. 


Try to cut at an angle so that when you want to replace the top it does not just fall back in. Use a tablespoon to drag out all the seeds (keep some for next years seeds and the rest can be roasted in oil and salt as a snack). The rest of the stringy innards I give to th chickens - they love them! Then scrape out the fleshy inner layer of the pumkins; it will come out well and this is ideal for making pumpkin marmalade. Now you should have a pumpkin ready to carve. Set the lid to one side and get some long and sharp knives out. Serrated ones are ok to the main work, but you will need a sharp knife for the detail. Then carve and use your imagination! I have some of mine shown here to give you some ideas.     
Cooking Pumpkins 
There are a number of things I like to do with the inevitable glut of pumpkins I end up with. The simplest is roasting slices of pumpkin in the oven with garlic, chilli and pepper; it's great with a roast as an unusual side dish. 

Pumpkin pie is a bit more complicated and takes a lot more preperation, but if you grow your own pumpkins, it is something you REALLY have to try at least once. You will then find out why the yanks love their pumpkin pie so much (and they usually use that tinned stuff; fresh it is even better). It tastes a lot like what we would call a custard tart, but it has a subtle pumpkin taste at the same time, that sweetness you get from pumpkin comes through so well in them. Here is a good recipe for you to try, from Jamie Oliver. Just substitute his butternut squash with pumpkin.

Pumpkin soup is another good use for that pumpkin flesh, once you have it all processed. There are loads of great recipies for pumpkin soup out there, but I would recommend this one from Raymond Blanc; he nails it by keeping it simple and not being too fancy with the flavours. I would be tempted to add a garlic clove or two and a chopped chilli too though... as I cannot help but change all recipes I try!

Finally, the one that always gets the quizzical looks, pumpkin marmalade. Try this recipe:

Pumpkin Marmalade
    1kg pumpkin or squash - weighed after removing skin and seeds!
    1kg granulated jam sugar
    2 oranges

    2 lemons
    250ml water

Using a spoon, carve the flesh out from inside the pumpkin in long thin strips
Weigh so you get the full 1kg, then mix with the jam sugar in a large bowl.
Cut the oranges and lemons into halves lengthways and then slice those thinly with a sharp knife. 
Put the oranges/lemons and water in a large saucepan and bring to the boil. 
Add the pumpkin and sugar and bring gently to the boil, stirring to dissolve the sugar. 
Boil until the mixture is thick and syrupy and has met setting point - about 30 minutes. 
Pour into sterilized jars and seal.
 

Sunday, June 19, 2016

Growing Chillies

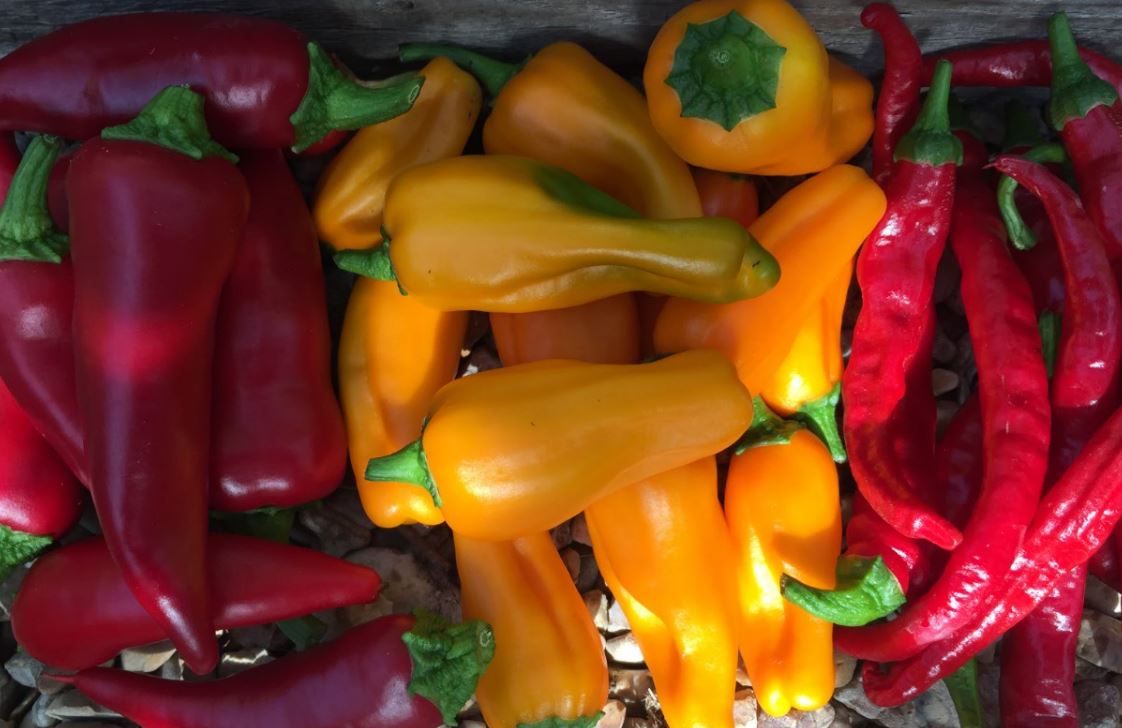
There is something great about growing chillies. There is such variety in size, flavour, colour, strength and shape. They are challenging to grow well too. I usually end up growing far too many and end up giving away lots of plants and lots of chillies too when they come through. 

I won't give too many tips here on how to succeed on growing them... there are far better people than me to give those tips, like my good friend Andrew Brooks at Gower Chillies who also runs a damn fine Chilli Festival each year - this photo is of me helping out at the first festival he ran in 2013.

There is a lot of information about chillies on the web. I like this Periodic table of chillies - you can click on each chilli for more information. There is some more good information on growing here , and here from Sarah Raven. And this site shows a great list of chillies, scoville scale, description and pictures; it's a really good resource.

I shall tell you about my favourite chillies though. 
  • Padron - (about 2,000 scovilles) best to pick green and to fry whole in olive oil, then sprinkle with sea salt. These are the ones that are supposed to be mild, but one in ten is hot. 
  • Cherry bombs - about the same heat as the Padron, maybe a bit more, but have a great round shape.
  • Jalapeno - this well known chilli is great for pickling.
  • Bulgarian Carrot - unusual orange chilli, great taste and about 30,000 on the scoville scale.
  • Ring Of Fire - grows fast, produces lots of long red chillies, but is great picked green too.
  • Lemon Drop - I found a bit tricky to grow, but the citrus flavour is worth the effort.
  • Cayenne - very easy to grow, widely available and pretty hot. A good hot starter chilli.
  • Thai Dragon - produces lots of hot small chillies on a compact bushy plant.
  • Hot Wax are easy to grow, fruit abundantly and produce big fat chillies. Not too hot, either.
  • Golden Habanero - very hot, lovely lantern shape. Needs a lot of constant heat to grow well; the usual rule is that chillies are harder to grow and need more heat, the hotter the eventual chilli should be.
  • Chocolate Habanero - I managed to grow one of these and they were lovely, brown, smokey chillies. VERY hot, great once it got going. 
I grow my chillies in my greenhouse. I also germinate them in the greenhouse; this means I get them through later than if you start them earlier indoors in heated propogation units, but it is less trouble. Then they stay in the greenhouse the whole time in their 8 inch pots, which seems big enough for a single season plant, and they are fed with tomato feed once they start to fruit.

Remember that most chillies are not H1 hybrids, they are 'true', which means you can buy a chilli to eat and if you like it you can collect the seeds from inside it and grow your own from those seeds. Just dry them out and keep them in a cool dark place until you want to try germinating them. Free plants! You can do this with most tomatoes too, although many more tomatoes are H1 hybrids, so the tomato you get on the plant may not be that same as the one you bought... but it usually works.